Greg's "Cheap Screw Guaranteed-To-Not-Make-A-Mess-If-You-Follow-The-Procedures" Oil Change Procedure
I've been bragging for some time that I had an oil change procedure guaranteed to not make a mess, and not cost you an extra penny in diapers, towels, and so forth. Well, after having my bluff called more than once, I decided to write it up and let you see for yourself. I honestly don't think I developed this on my own. It could have come from the Grumman Gang, or it could have come from someone at the Bridgeport airport, but I've been doing it for so long I no longer remember who told it to me. My apologies to the "real" designer.
Here we go!
Note we're working from the starboard (passenger) side of the cowl.
1. The first thing I do is connect my drain hose to the drain plug and let it begin draining. Actually, the real first thing I did was fly the airplane to get the oil warmed up, but you get the picture.
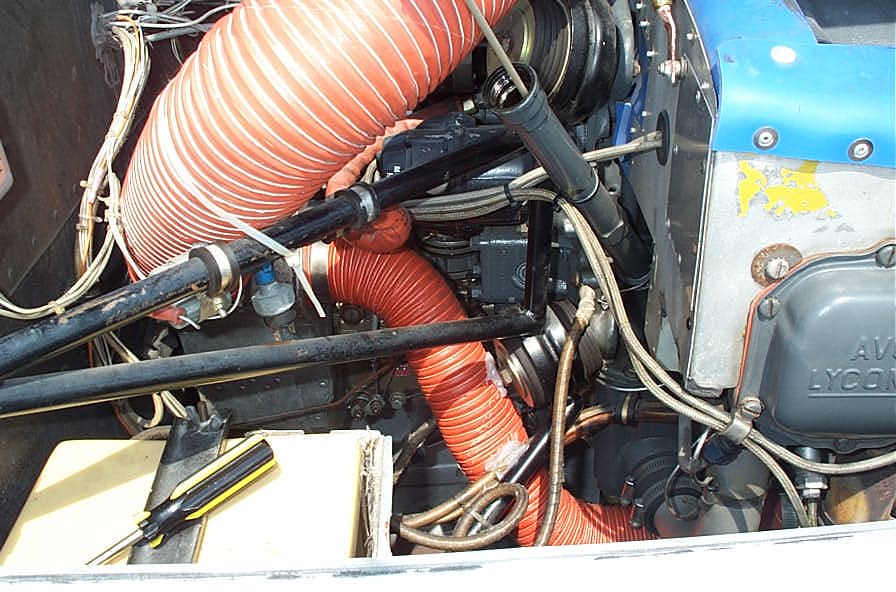
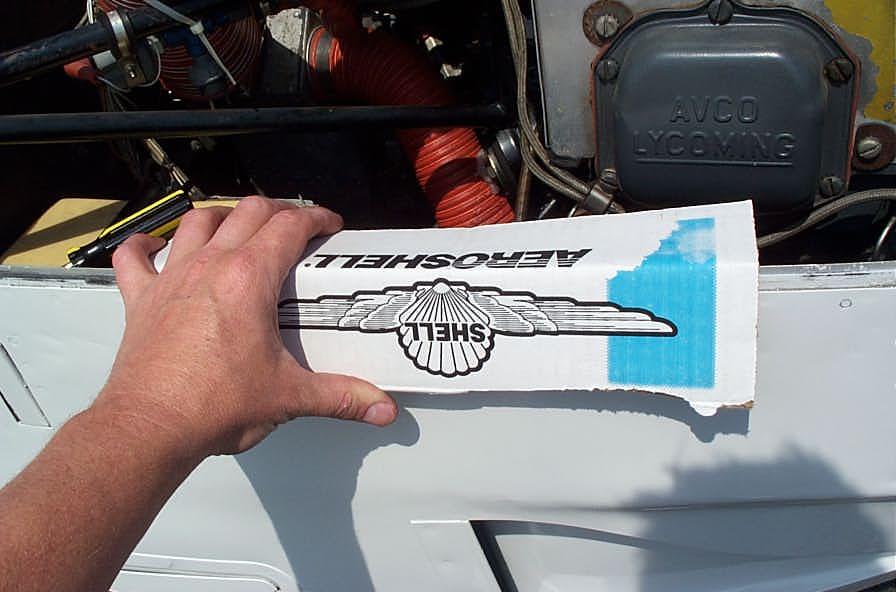
2. We continue, innocuously enough, by opening the cowl. I have a LoPresti cowl, so here's a pic of the mess already opened up with the LoPresti air intake hose disconnected and pushed aside (one worm clamp.)
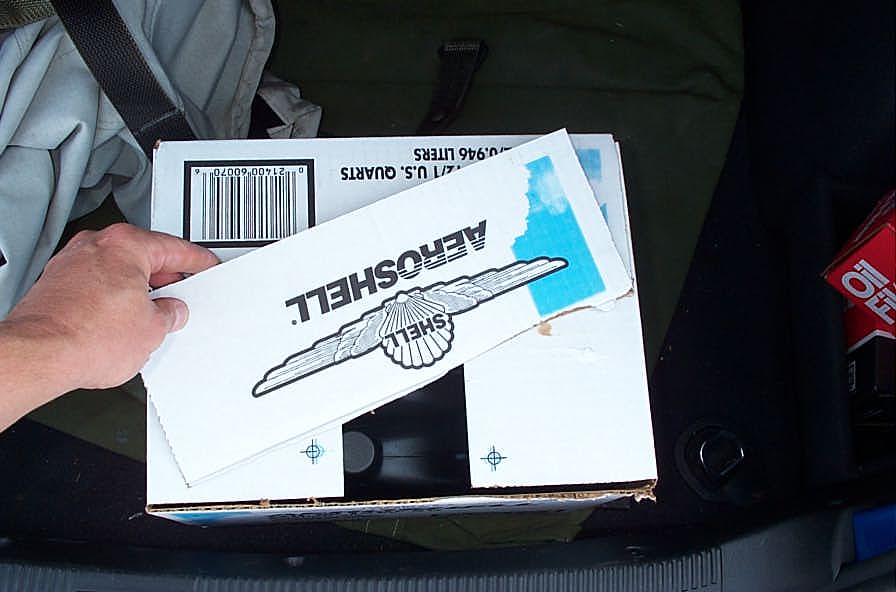
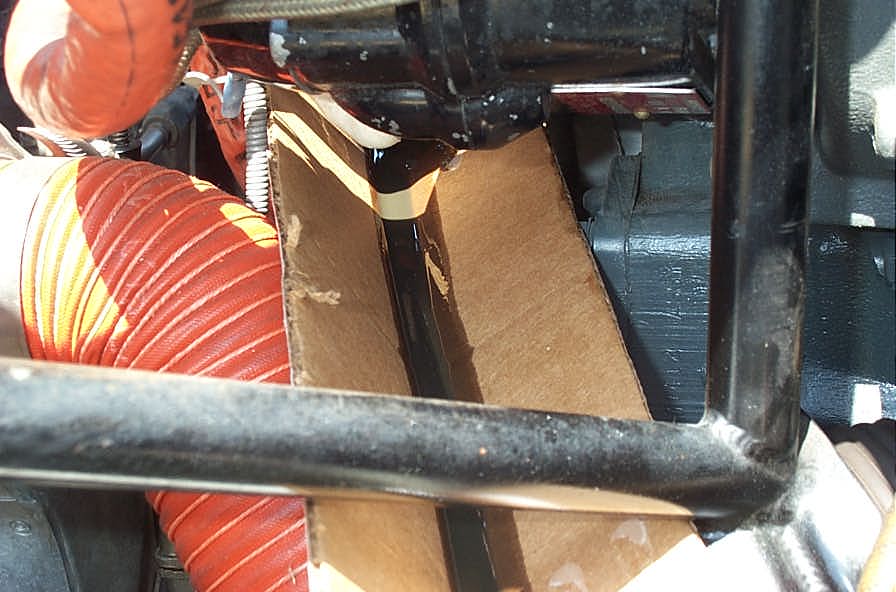
3. Here's where the tricks start. I use my handy Swiss Army knife (you do have a Swiss Army Knife in your airplane, right?) to cut off one of the flaps from the cardboard oil case. Then, I use the cowl to bend it in half lengthwise to about a 45-degree angle to form a trough.
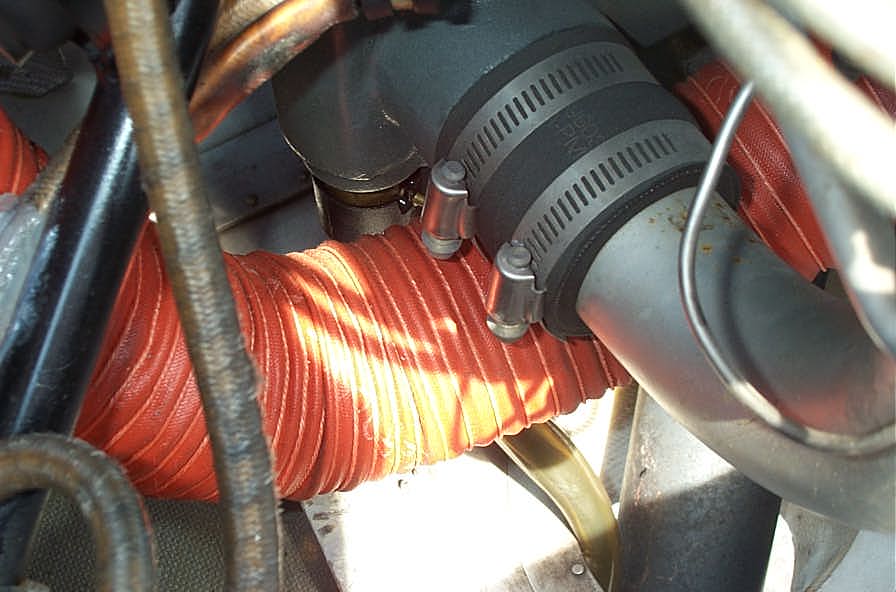
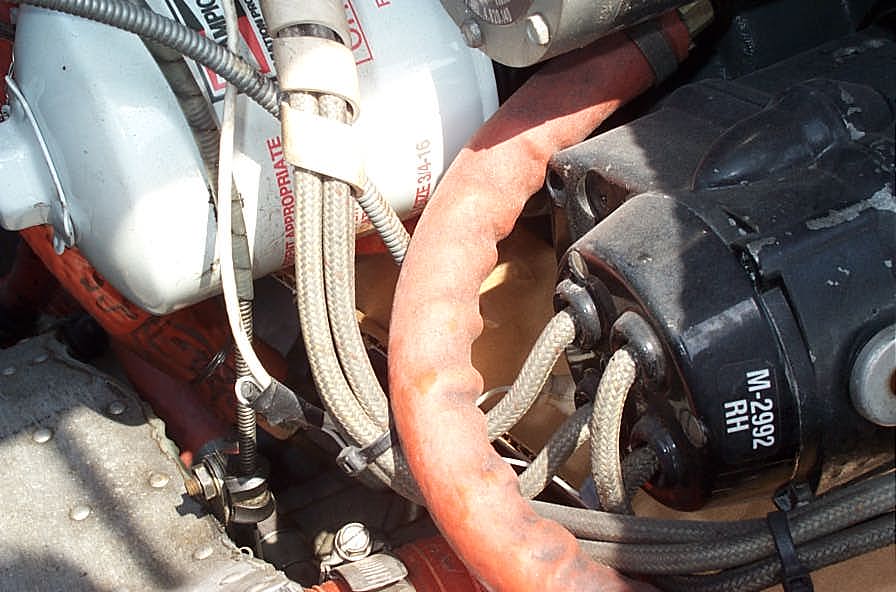
4. I take my new trough and stuff it in the mess, until one end is positioned right under the oil filter.

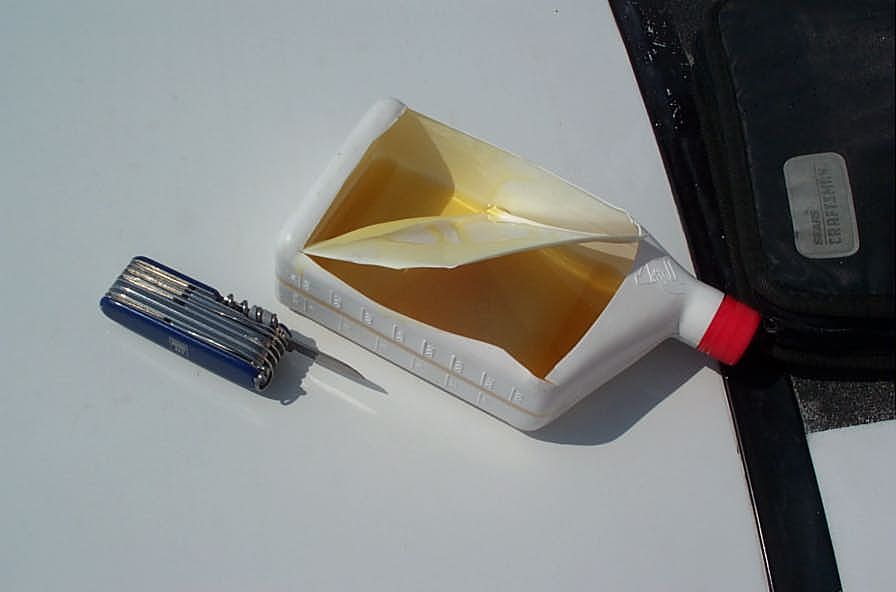
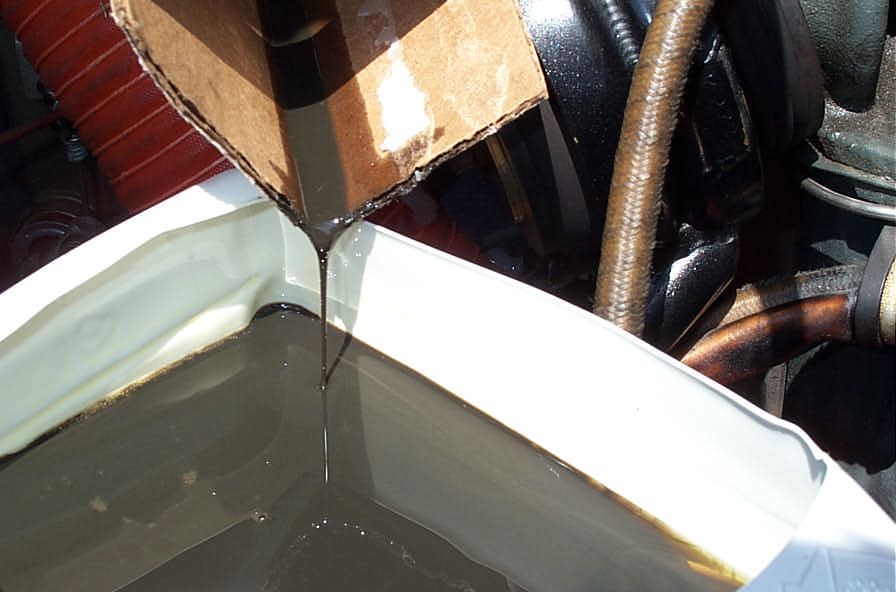
5. Next trick: I take one of the old oil bottles that are always laying around, and use that same trusty Swiss army Knife to make a catch basin.
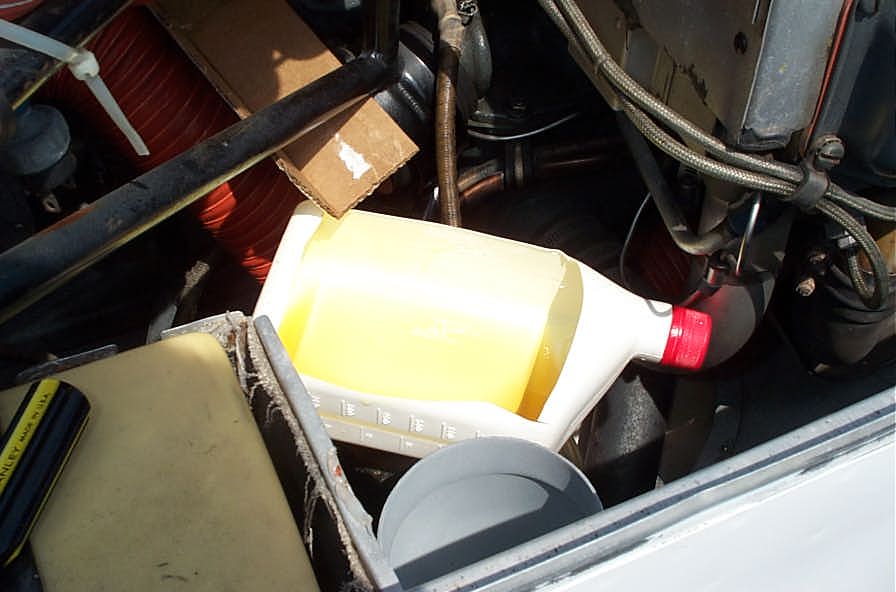
6. I install that new catch basin into that area just forward and inboard of the battery, and let it lay on top of my battery cables. Unscrew your oil filter and Voila! All the oil from the oil filter drips down into your trough, downhill in through to the right side of the airplane (you do have the right side lower than the oil filter end, right?), and right into your basin!
If necessary, you can take some of your safety wire and secure it in place. Believe me, if that catch basin falls over, then it makes a hell of a mess (but you didn't follow the procedures properly, did you...?)

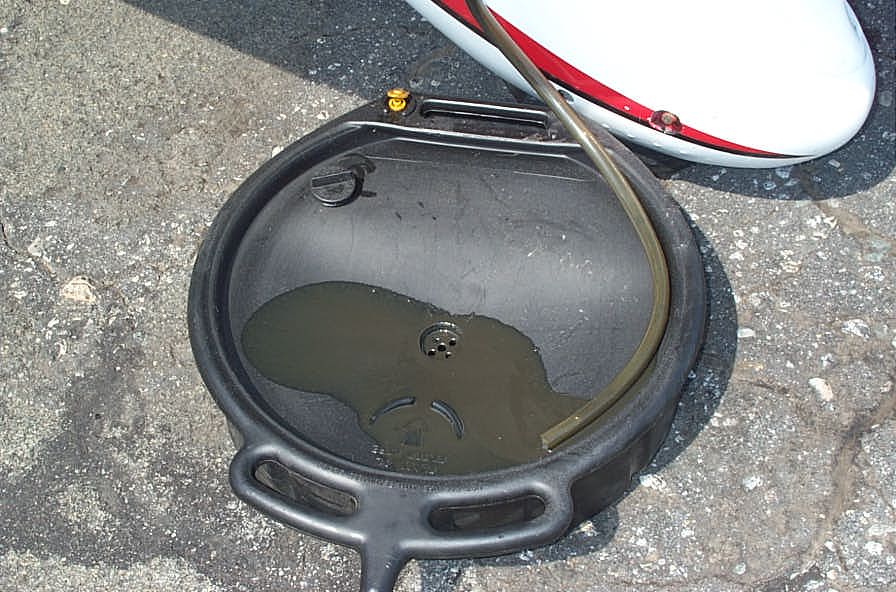
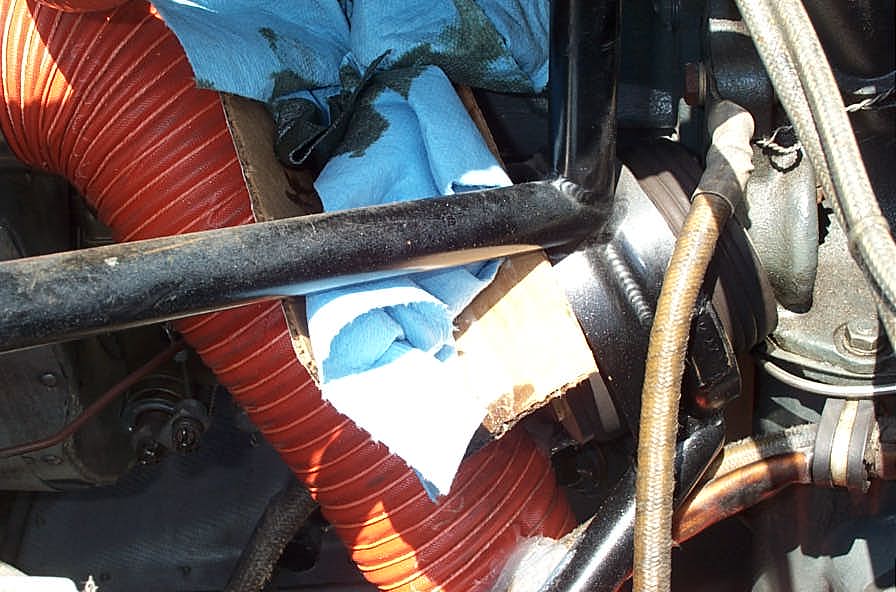
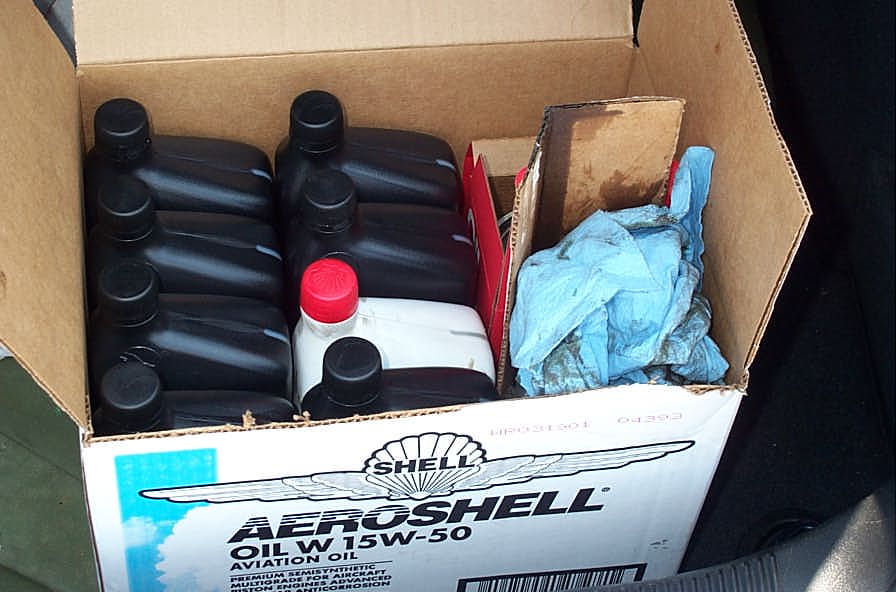
7. When all the drippin's done, I stuff some of my rags into the end to catch the last drops, carefully remove the basin and dump it into my oil catch tank. Once I've filled the engine with 7 quarts of quality aviation motor oil, all my new "tools", the empty oil bottles, and my old oil filter all fit neatly in that soon-to-be discarded oil case and off to the dumpster it goes!
So whadya think? Try it out and let me know!
Updates
06/15/2005: Jim Hall offers a modified procedure...
03/22/06: Michael Wei writes:
I made one slight improvement in the procedure. My 75 Traveler has quite a bit room behind and below the oil filter. When using the cut-open empty oil bottle as the "catch basin", there's quite a bit chance of that catch basin falling over, which will make a big mess. I used a disposable aluminum turkey pan (the kind that you use to bake your turkey in Thanksgivings, costs about $2), folded it into a shape that it will sit securely in the space below the oil filter, and put the oil bottle catch basin in the turkey pan. This way there's absolutely no chance of that catch basin falling over. The oil will still drip only to the catch basin and the turkey pan can be reused. --Mike